

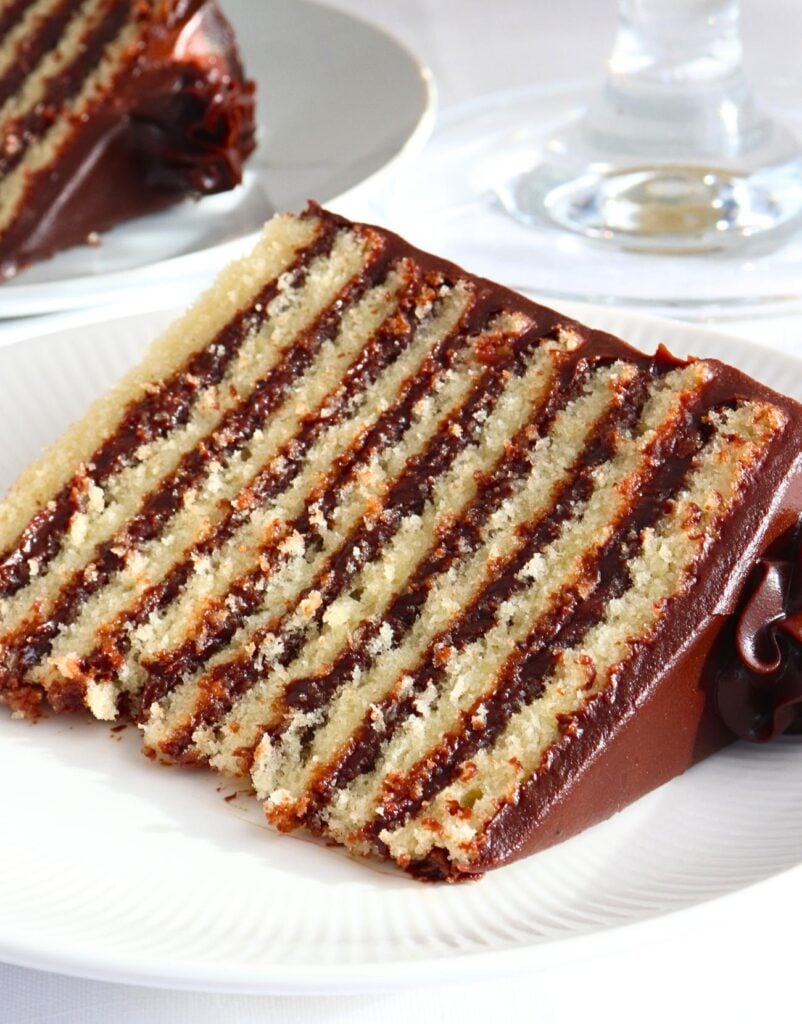
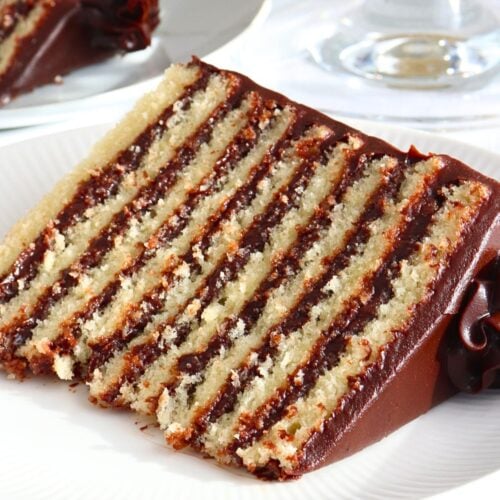
This Smith Island Cake is easily one of my favourite cake recipes of all time! It features multiple thin layers of soft, buttery yellow cake stacked with a rich, silky chocolate fudge frosting. Every bite is incredibly moist, chocolatey, and absolutely delicious. It looks like a bakery-worthy showstopper, but it’s actually much easier to make than you’d think!
What is a Smith Island Cake
If you’ve never heard of a Smith Island Cake, you’re in for a treat! This iconic American layer cake is famous for its many thin layers of buttery yellow cake stacked with rich chocolate frosting. It dates back to the late 1800s on Smith Island, Maryland, where local women would bake these impressive cakes for special occasions and to send with the island’s watermen heading out for long days of crabbing and oystering on the Chesapeake Bay. Today, it’s known as Maryland’s official state dessert, and while it looks like a serious baking project, those thin layers bake up quickly, making it much easier to make than you’d think.
Why You’ll Love This Recipe
With its signature thin layers of buttery yellow cake and rich chocolate fudge frosting, this Smith Island Cake is every chocolate lover’s dream. It looks incredibly elegant when sliced, but it’s made with simple ingredients and straightforward techniques. Here’s why you’ll love it:
Rich chocolate fudge frosting – Instead of a traditional buttercream, this cake is layered with my popular silky chocolate fudge frosting that’s packed with real chocolate. It’s smooth, fudgy, and perfectly balanced without being overly sweet.
Super soft, buttery cake layers – This recipe uses my 5-star rated yellow cake recipe. The combination of butter, oil, extra egg yolks, and buttermilk creates incredibly tender cake layers that stay soft and moist for days.
Beautiful signature layers – Those thin cake layers aren’t just for looks! They create the perfect cake-to-frosting ratio, so you get chocolate frosting in every single bite.
Easier than it looks – While baking several layers might sound intimidating, each batch only takes about 12 to 13 minutes to bake, and the process is surprisingly simple.
Perfect for celebrations – Whether it’s for a birthday, holiday, dinner party, or just because you’re craving cake, this Smith Island Cake is guaranteed to impress everyone who sees (and tastes!) it.
How to Make Smith Island Cake
You can find the full list of ingredients for this Smith Island cake recipe in the recipe card at the end of the blog post (for easy navigation, hit the ‘jump to recipe’ button at the top of the blog post). Here is just a quick visual breakdown of the recipe (recipe video is also provided in the recipe card below).
Chocolate Fudge Frosting
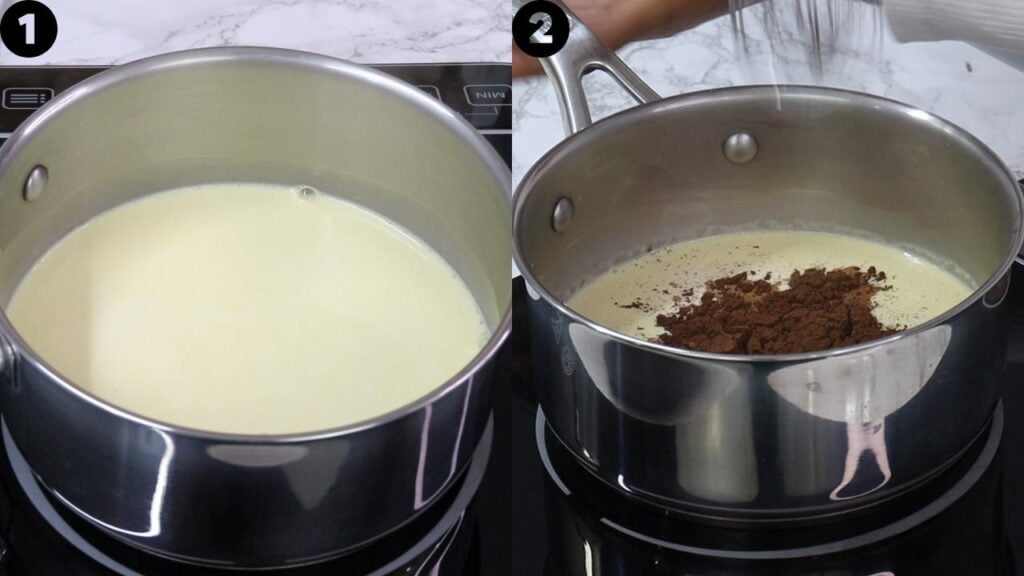
Place the cream into a saucepan over medium heat. Heat until you begin to see small bubbles forming around the edges of the pan. Do not let the cream come to a boil.
Reduce the heat to low and whisk in the cocoa powder until completely smooth.
Add the chocolate, butter, instant coffee powder, salt, vanilla and powdered sugar. Stir gently over low heat until everything has completely melted and the frosting is smooth and silky. Do not allow the mixture to simmer or boil, as this can cause it to split. As soon as everything has melted, remove it from the heat.
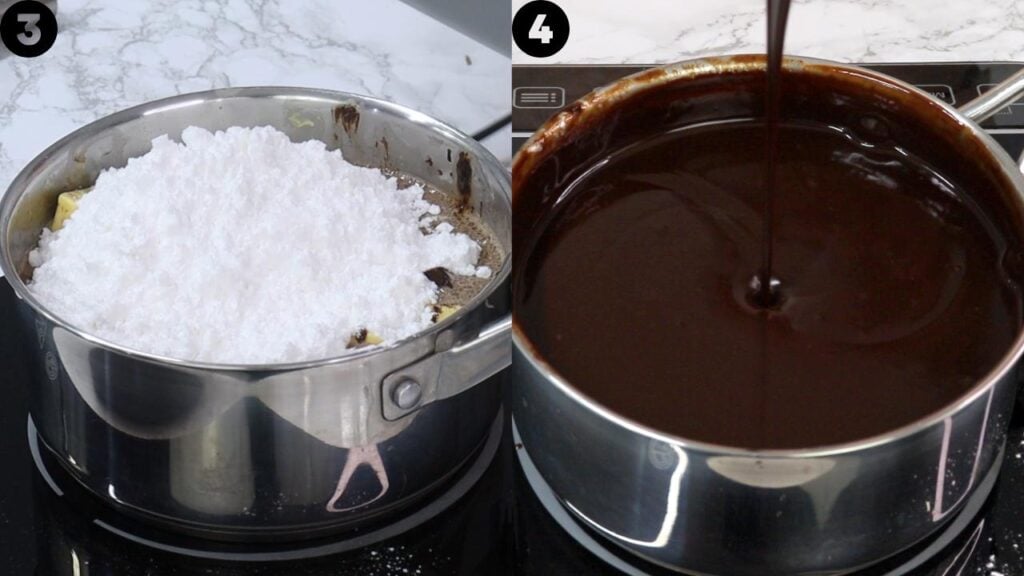
Pour the frosting through a fine mesh sieve into a heatproof bowl to remove any small lumps.
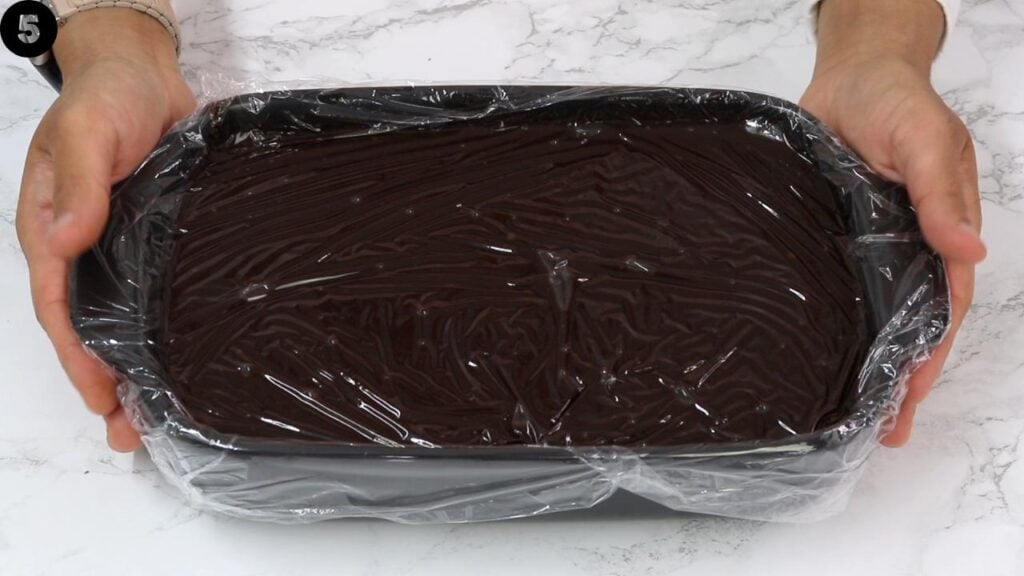
Press a piece of plastic wrap directly onto the surface of the frosting to prevent a skin from forming. Leave to cool at room temperature while you prepare the cake layers.
Yellow Cake
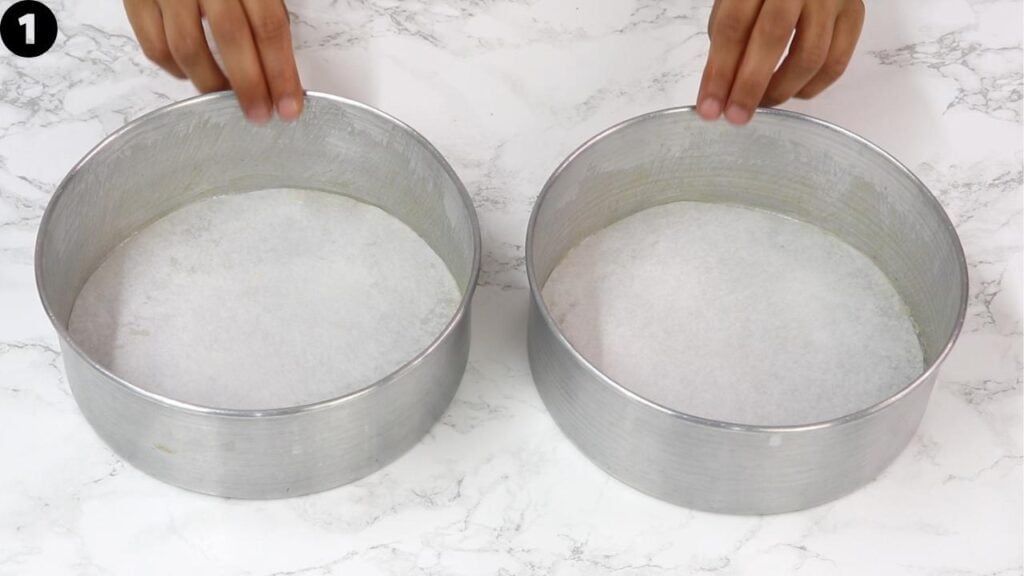
Preheat oven to 350°F (180°C) conventional. Grease the sides of two 8-inch cake pans (I use my homemade cake release) and line the bottoms with parchment paper. If you have additional 8-inch cake pans and a big enough oven, you can prepare those as well to bake more layers at once.
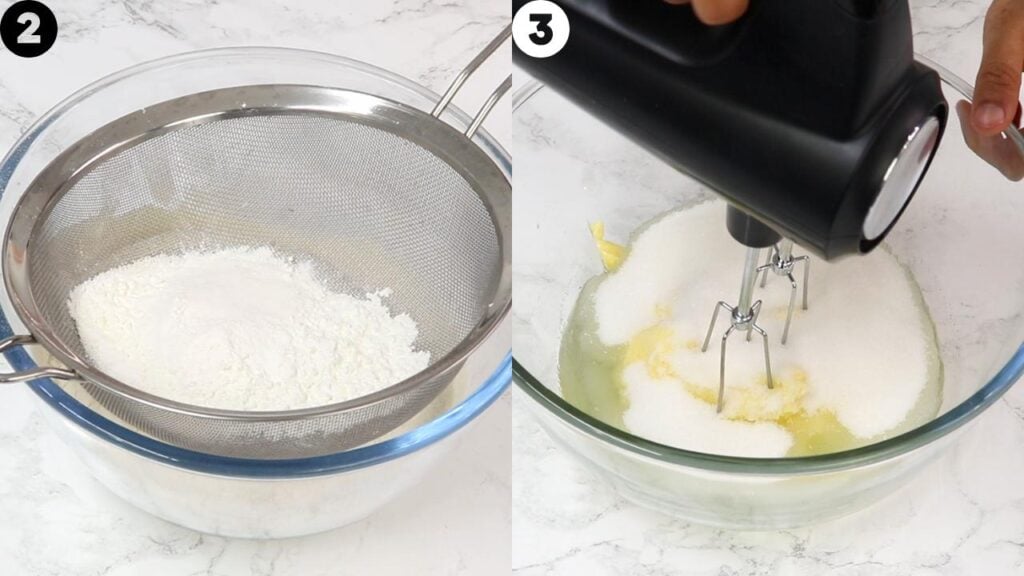
In a medium bowl, sift together the flour, cornstarch, baking soda, baking powder and salt. Whisk until well combined, then set aside.
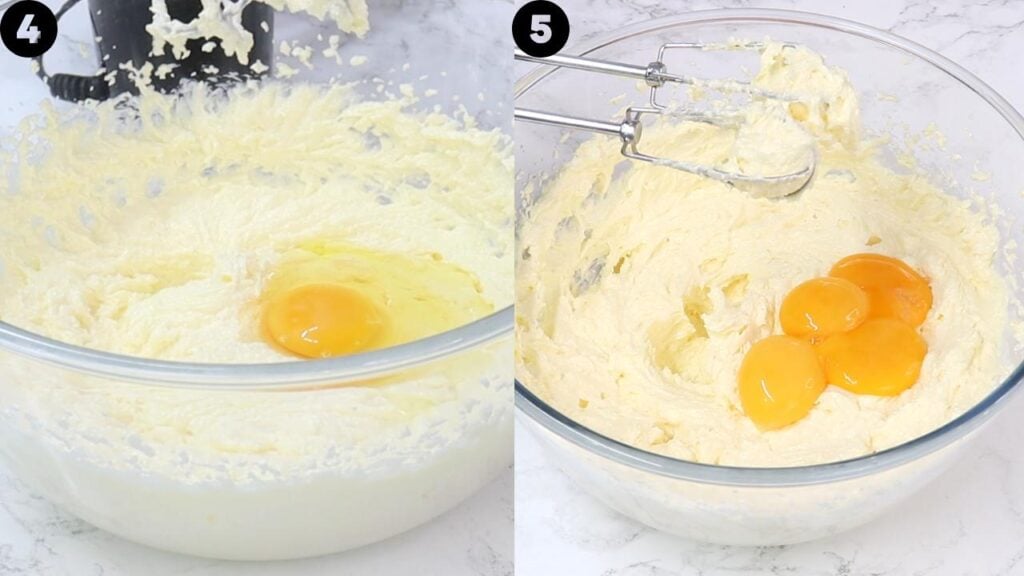
In a large bowl, cream together the butter, vegetable oil and sugar using a hand mixer or stand mixer for 2 minutes until light and creamy.
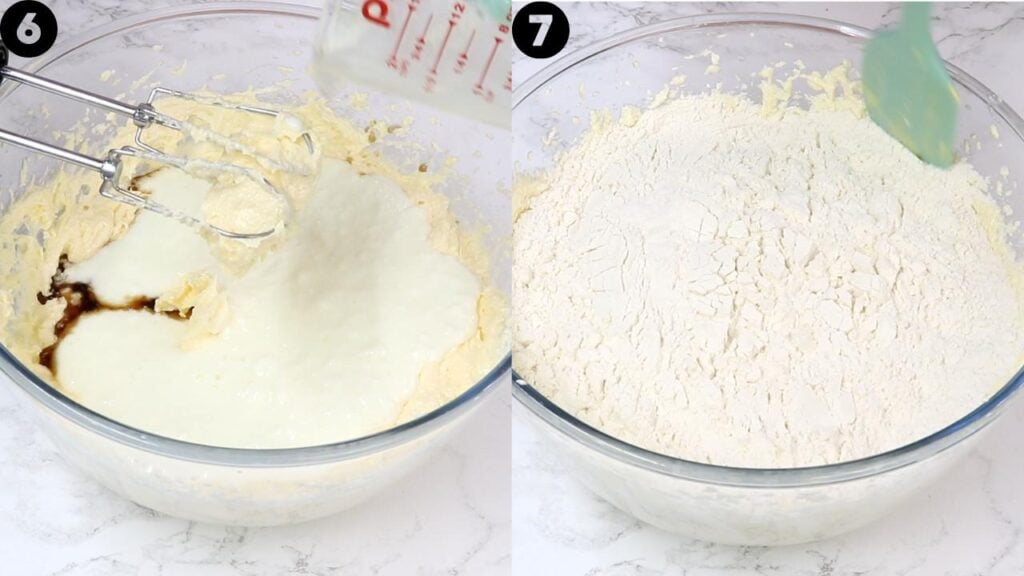
Add the whole eggs one at a time, mixing well after each addition. Add the egg yolks and mix until fully incorporated.
Add the vinegar, vanilla and buttermilk, then mix until smooth. The batter may look slightly curdled at this stage, which is completely normal.
Add the dry ingredients to the wet ingredients and gently fold together using a spatula until just combined. Be careful not to overmix.
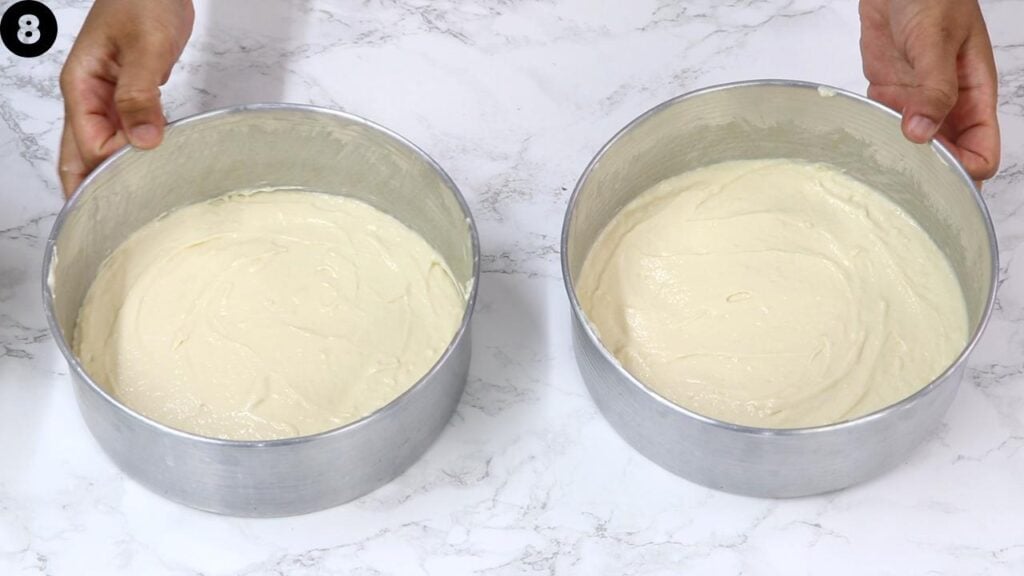
Measure 1 cup of batter into each prepared cake pan and spread into an even layer. Gently tap the pans on the counter once to remove any large air bubbles.
Bake for 12-13 minutes, or until a toothpick inserted into the centre comes out clean or with a few moist crumbs attached.
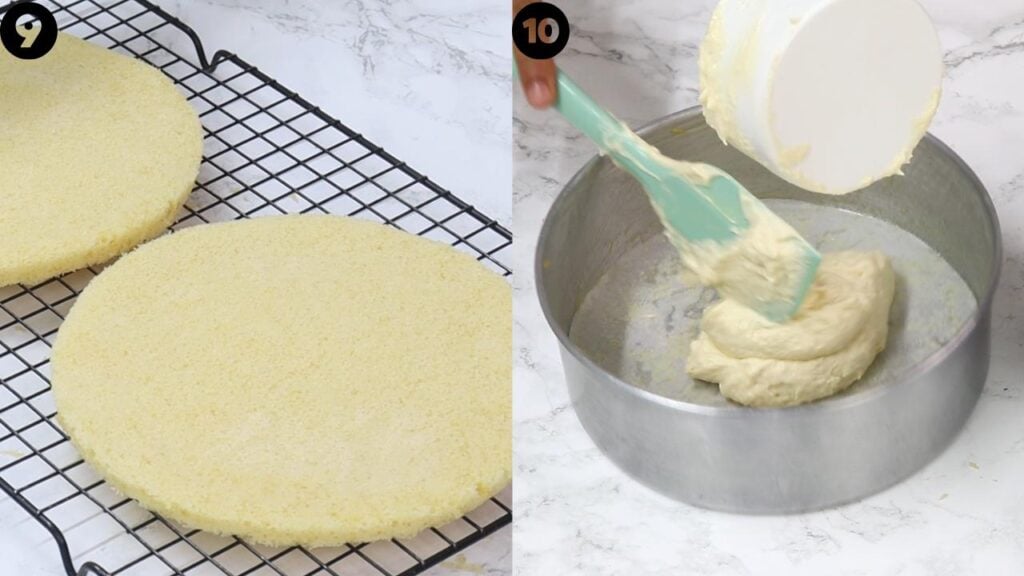
Allow the cakes to cool in the pans for a few minutes before running a thin knife around the edges and carefully turning them out onto a wire rack to cool.
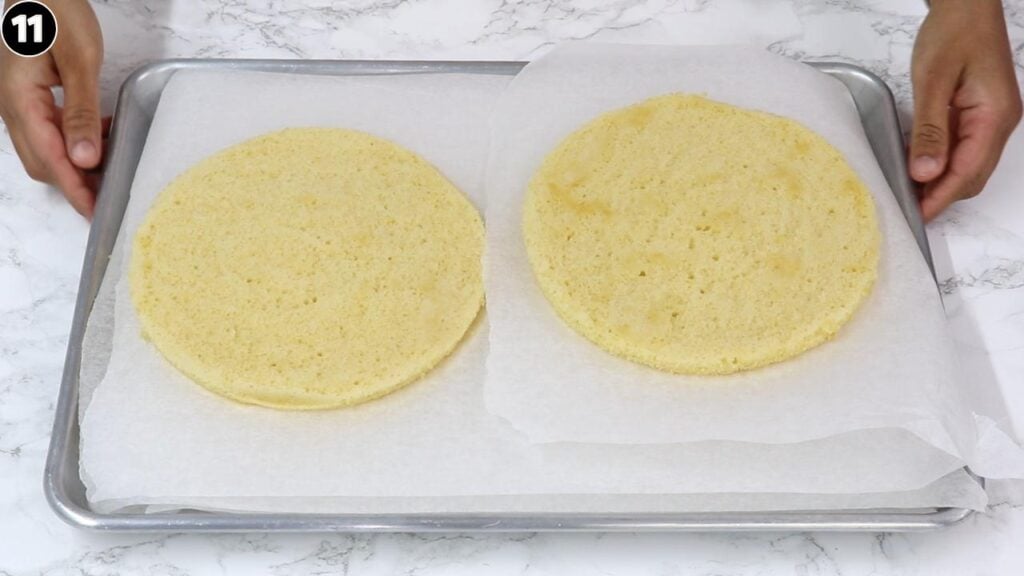
Re-grease the cake pans (no need to wash them) and reuse the same parchment paper to bake the remaining cake layers in batches, adding 1 cup of batter to each pan each time. Repeat until all of the batter has been used. You should end up with approximately 9 cake layers (8-10 layers is perfectly fine).
Assembly (see video for visual demonstration)
Once the cake layers have completely cooled and the frosting has thickened to a spreadable, slightly runny consistency, you’re ready to assemble the Smith Island cake.
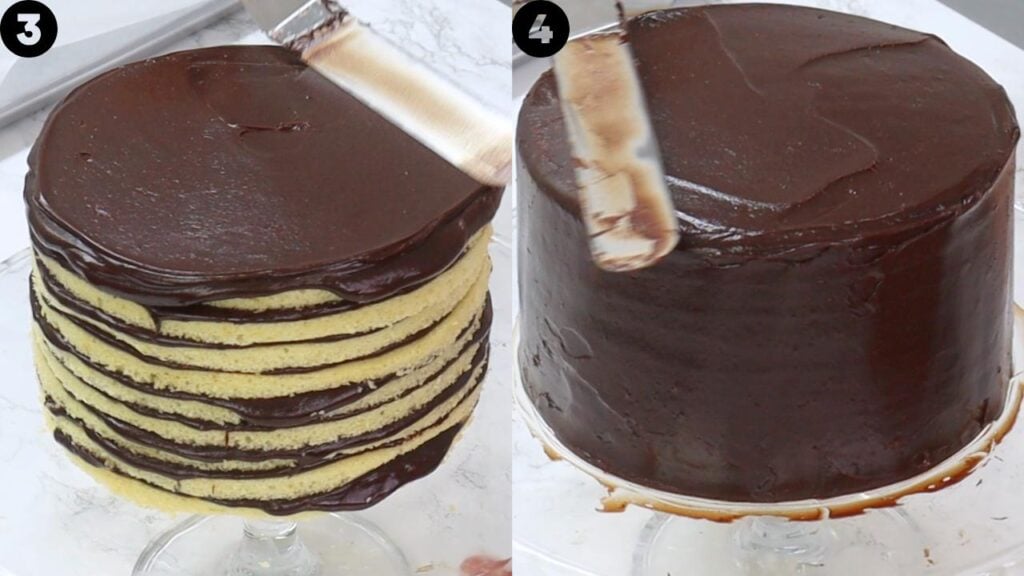
Place the first cake layer onto a serving plate or cake stand and spread a thin, even layer of frosting over the top, taking it right to the edges. An offset spatula works well for creating even layers.
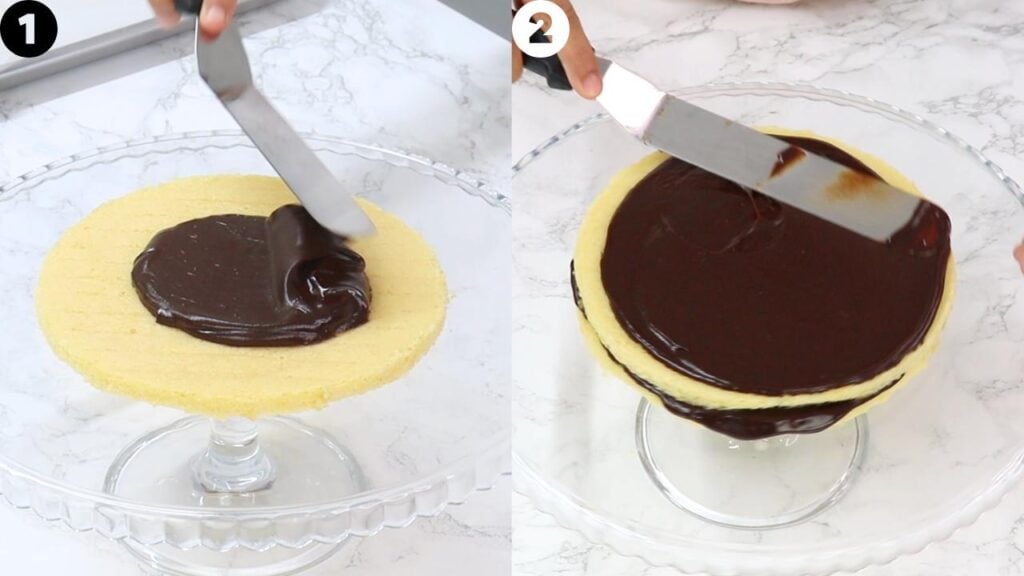
Repeat with the remaining cake layers until all of the layers have been stacked.
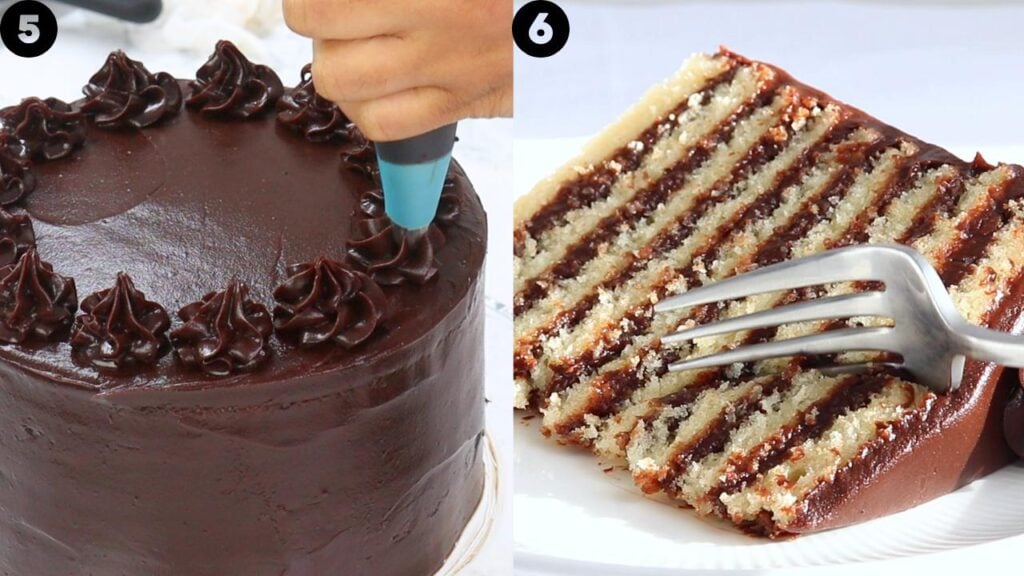
Use the remaining frosting to cover the top and sides of the cake. Smooth with an offset spatula or cake scraper if desired. If you have any frosting left over, you can pipe a decorative border around the top of the cake.
Allow the cake to sit for 15 minutes in the refrigerator or 30-60 minutes at room temperature before slicing. This gives the frosting time to set slightly, making the cake easier to slice while allowing the flavours to meld together beautifully. Slice and enjoy!
How to Store Smith Island Cake
Store any leftovers of this Smith Island Cake in an airtight container in the refrigerator for up to 5 days. Because the frosting is made with butter and cream, it’s best kept chilled.
For the best texture and flavour, let the cake sit at room temperature for about 30 to 60 minutes before serving. This gives the frosting time to soften and become perfectly silky again.
Ultimate 9-Layer Smith Island Cake (Rich & Moist!)
Print Pin VideoIMPORTANT: For accuracy, I would recommend using the gram measurements provided, as those are the exact quantities I use. Cup measurements are given as estimates (based on US cup measurements) to make it easier for those who do not have a scale.
Ingredients
Chocolate Fudge Frosting
- 1½ cups (340 g) heavy cream
- 2 tbsps (12 g) unsweetened cocoa powder - Dutch processed preferred. Sifted.
- 3¾ cups (600 g) semi-sweet chocolate - I use a good quality 50% dark chocolate block
- 1½ cups (340 g) unsalted butter - room temperature
- ¾ tsp instant coffee powder
- ¾ tsp salt - omit if using salted butter
- 1 tbsp vanilla extract/essence
- 1½ cups (255 g) powdered sugar - also known as icing/confectioners' sugar. Sifted.
Yellow Cake
- 3¼ cups (390 g) all-purpose flour
- 6 tbsps (45 g) cornstarch
- ¾ tsp baking soda
- 1¼ tsps baking powder
- ¾ tsp salt - omit if using salted butter
- ¾ cup (170 g) unsalted butter - room temp
- ⅔ cup (140 g) unflavoured vegetable oil - I use canola oil
- 2 cups (400 g) white granulated sugar
- 3 large eggs - room temp
- 4 large egg yolks - room temp
- 1¼ tsps white vinegar
- 1½ tbsps vanilla extract/essence
- 1¾ cups (395 g) buttermilk - room temp
Instructions
Chocolate Fudge Frosting
- Place the cream into a saucepan over medium heat. Heat until you begin to see small bubbles forming around the edges of the pan. Do not let the cream come to a boil.
- Reduce the heat to low and whisk in the cocoa powder until completely smooth.
- Add the chocolate, butter, instant coffee powder, salt, vanilla and powdered sugar. Stir gently over low heat until everything has completely melted and the frosting is smooth and silky. Do not allow the mixture to simmer or boil, as this can cause it to split. As soon as everything has melted, remove it from the heat.
- Pour the frosting through a fine mesh sieve into a heatproof bowl to remove any small lumps.
- Press a piece of plastic wrap directly onto the surface of the frosting to prevent a skin from forming. Leave to cool at room temperature while you prepare the cake layers (see note 1).
Yellow Cake
- Preheat oven to 350°F (180°C) conventional (see note 2 if using a convection oven with a fan). Grease the sides of two 8-inch cake pans (I use my homemade cake release) and line the bottoms with parchment paper. If you have additional 8-inch cake pans and a big enough oven, you can prepare those as well to bake more layers at once.
- In a medium bowl, sift together the flour, cornstarch, baking soda, baking powder and salt. Whisk until well combined, then set aside.
- In a large bowl, cream together the butter, vegetable oil and sugar using a hand mixer or stand mixer for 2 minutes until light and creamy.
- Add the whole eggs one at a time, mixing well after each addition. Add the egg yolks and mix until fully incorporated.
- Add the vinegar, vanilla and buttermilk, then mix until smooth. The batter may look slightly curdled at this stage, which is completely normal.
- Add the dry ingredients to the wet ingredients and gently fold together using a spatula until just combined. Be careful not to overmix.
- Measure 1 cup of batter into each prepared cake pan and spread into an even layer. Gently tap the pans on the counter once to remove any large air bubbles.
- Bake for 12-13 minutes, or until a toothpick inserted into the centre comes out clean or with a few moist crumbs attached.
- Allow the cakes to cool in the pans for a few minutes before running a thin knife around the edges and carefully turning them out onto a wire rack to cool.
- Re-grease the cake pans (no need to wash them) and reuse the same parchment paper to bake the remaining cake layers in batches, adding 1 cup of batter to each pan each time. Repeat until all of the batter has been used (see note 3). You should end up with approximately 9 cake layers (8-10 layers is perfectly fine).
Assembly (see video for visual demonstration)
- Once the cake layers have completely cooled and the frosting has thickened to a spreadable, slightly runny consistency, you're ready to assemble the cake.
- Place the first cake layer onto a serving plate or cake stand and spread a thin, even layer of frosting over the top, taking it right to the edges. An offset spatula works well for creating even layers.
- Repeat with the remaining cake layers until all of the layers have been stacked.
- Use the remaining frosting to cover the top and sides of the cake. Smooth with an offset spatula or cake scraper if desired. If you have any frosting left over, you can pipe a decorative border around the top of the cake.
- Allow the cake to sit for 15 minutes in the refrigerator or 30-60 minutes at room temperature before slicing. This gives the frosting time to set slightly, making the cake easier to slice while allowing the flavours to meld together beautifully. Slice and enjoy!
Video

Notes
Nutrition
Nutritional information are estimates only as they are automatically calculated by a third party application. Actual values may differ based on brands and types of products used.









4 Comments
I made this for my partner’s birthday and everyone loved it! He had Smith Island cake growing up and said that this tasted exactly how he remembered it. Not too sweet and actually very simple to make once everything is prepared. Thank you so much for this amazing recipe!
Yay! I’m so happy to hear everyone loved it Mae and it’s so lovely to hear that he said it tasted just like the Smith Island cake he remembered growing up with! 😀
Hi! I’d like to ask what brand of chocolate do you usually use for this cake? I’m not familiar with good quality brands. Thank you!
Hi Mimi! Here in NZ I use Whittakers 50% dark chocolate 🙂