Picture this: a warm rich gooey chocolate centre oozing out of a perfectly soft, melt in your mouth chocolate cake. If that sounds like dessert heaven, then this easy chocolate lava cake recipe is exactly what you need. Whether you’re hosting a dinner party or simply craving a luxurious treat for yourself, this quick molten lava cake recipe that takes less than 30 minutes to make, will leave you feeling like you’ve just walked out of one of the finest patisseries in town!

What is a chocolate molten lava cake?
A chocolate molten lava cake (aka my favorite dessert EVER!), sometimes simply referred to as a molten chocolate cake or lava cake, is a decadent dessert consisting of a rich chocolate cake with a gooey, molten chocolate center – absolute heaven!!
The cake is typically made with a handful of ingredients that you probably already have at home – butter, sugar, eggs, chocolate, and flour, and it’s baked until the edges are set but the center remains soft and molten.
When served warm, the center oozes out, creating a lava-like effect, hence the name. It’s often served with a dusting of powdered sugar, a scoop of vanilla ice cream, or whipped cream to complement the richness of the cake – though I can happily demolish one (or maybe 2) on it’s own!
What is the filling made of in lava cake?
So people often think that the ‘lava’ in the centre of lava cakes is simply uncooked cake batter, but this is not entirely true. Yes, it is batter that hasn’t been fully cooked (so perhaps under cooked is a better term), but it has still been baked and therefore safe to eat.
What is the difference between molten cake and lava cake?
“Molten cake” and “lava cake” are often used interchangeably, and in many cases, they refer to the same dessert. However, there can be some slight differences in terminology depending on context.
“Molten cake” is a broader term that can refer to any cake with a soft, flowing center, not necessarily just chocolate-based. “Lava cake,” on the other hand, specifically refers to a chocolate dessert with a molten center.
While both molten cakes and lava cakes typically contain similar ingredients (such as chocolate, butter, eggs, sugar, and flour), the specific recipes may vary. Lava cakes are always chocolate-based, while molten cakes could be made with other flavors like lemon, caramel, or even fruit.
In essence, “lava cake” is a specific type of molten cake, typically referring to a chocolate dessert with a gooey center. However, both terms are often used interchangeably to describe similar desserts with a flowing center.
How to make chocolate lava cake
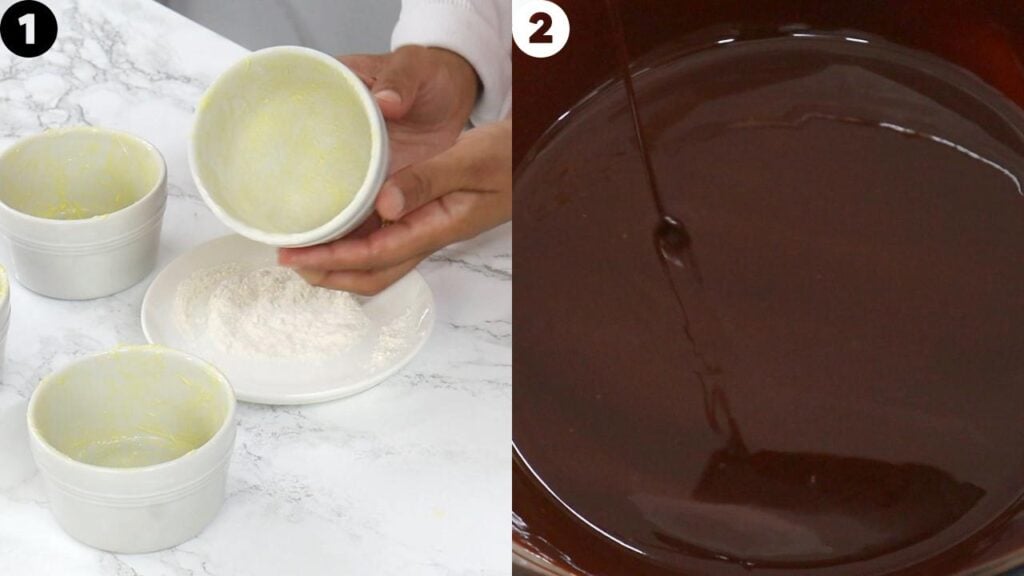
Preheat oven to 220C/430F (conventional), and generously grease and flour four 6-ounce ramekins (3.5inch diameter). If your ramekins are a little bigger or smaller it’s fine, you may just need to adjust the cooking time accordingly.
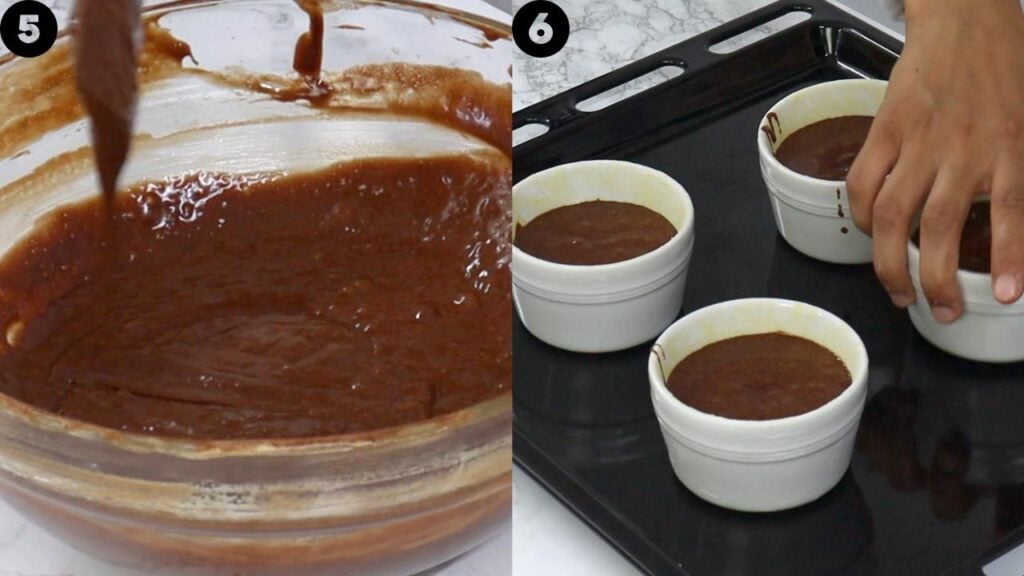
In a heat proof bowl add in butter and semisweet chocolate. Melt over a double boiler or in the microwave (which is what I prefer for ease). If using a microwave, melt for 20 second bursts at a time, mixing in between each burst until the chocolate is almost melted. Once at this stage, continue to stir, allowing the residual heat to melt the remaining chocolate. Once smooth, set aside for now.
In a large bowl add in brown sugar, vanilla, salt, whole eggs and egg yolks. Using a hand or stand mixer on a medium speed (use the whisk attachment if using a stand mixer), whip for 5 minutes until the mixture is thick and pale. You should be able to lift the batter up and make ribbons with it, that sit at the top of the batter for a few seconds before being absorbed back in.
To the egg mixture, sift in all purpose flour and add in the melted chocolate mixture from earlier. Using a spatula, gently fold until well combined and the batter is uniform.

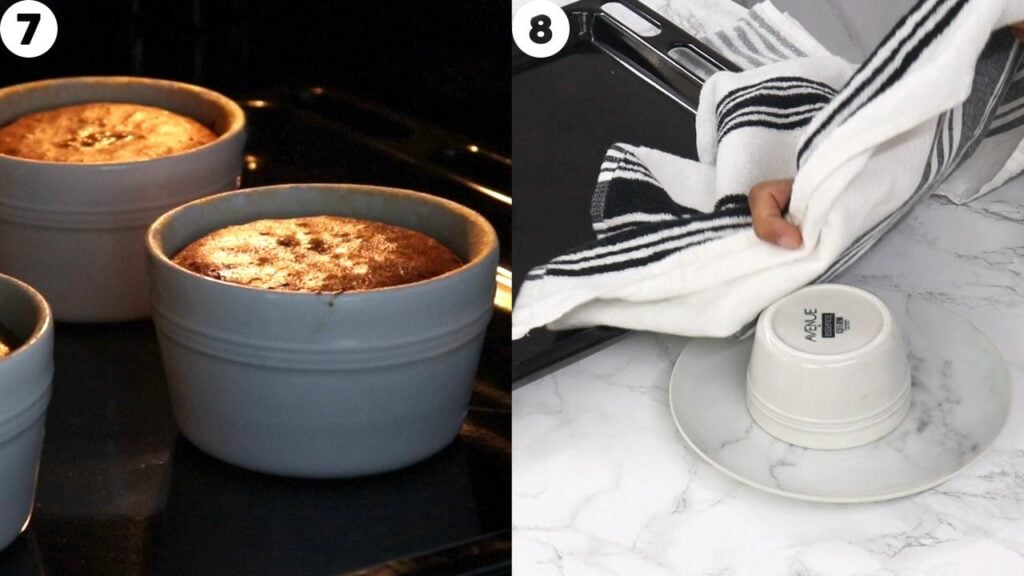
Distribute the batter into the prepared ramekins. The batter should come about 3/4s of the way up the ramekins. Drop the ramekins lightly on the countertop once, and then place them onto a baking tray. Bake for 11-12 minutes, or until the edges are set, but the centre still jiggles when touched. If you’re worried about overbaking them you can bake one first and check what the optimal baking time is for your oven. If you notice that at 11 minutes it seems a little overbaked, simply reduce the temperature by about a minute for the next round. Alternatively, if 11-12 minutes doesn’t seem like enough, bake for an extra minute or so.
Let them cool in the ramekins for about a minute, before turning them out onto a serving plate/saucer. Use a tea towel or oven mitts to assist you as the ramekins will be hot. Let them rest for about 15 seconds, before gently lifting the ramekins up – they should come off easily.
Finish off by dusting with powdered sugar and serve immediatlely. You can add berries, ice cream or whipped cream on the side too!

How to make lava cakes ahead of time
Lava cakes are a great make ahead dessert. Simply make the batter up to 24 hours beforehand and distribute it into the prepared ramekins. Cover and place in the refrigerator. Bring the ramekins out 30 mins to 1 hour before you’re going to bake them to allow the batter to come to room temperature. Bake and serve.

Easy Chocolate Lava Cake Recipe
IMPORTANT: For accuracy, I would recommend using the gram measurements provided, as those are the exact quantities I use. Cup measurements are given as estimates (based on US cup measurements) to make it easier for those who do not have a scale.
Ingredients
- ½ cup (113 g) unsalted butter
- 1 cup (170 g) semi-sweet chocolate - 6 ounces, use a good quality chocolate - I usually use 50-60% dark chocolate (see note 1)
- ¼ cup (50 g) soft light brown sugar
- ½ tsp vanilla extract/essence
- ⅛ tsp salt
- 2 large eggs - room temperature
- 2 egg yolks - room temperature
- 3 tbsp (24 g) all purpose flour
- 2 tbsp powdered sugar - for dusting before serving
Instructions
- Preheat oven to 220C/430F (conventional - see note 2 if using a fan function), and generously grease and flour four 3.5inch (6 ounce) ramekins. If your ramekins are a little bigger or smaller it's fine, you may just need to adjust the cooking time accordingly.
- In a heat proof bowl add in butter and chocolate. Melt over a double boiler or in the microwave (which is what I prefer for ease). If using a microwave, melt for 20 second bursts at a time, mixing in between each burst until the chocolate is almost melted. Once at this stage, continue to stir, allowing the residual heat to melt the remaining chocolate. Once smooth, set aside for now.
- In a large bowl add in brown sugar, vanilla, salt, whole eggs and egg yolks. Using a hand or stand mixer on a medium speed (use the whisk attachment if using a stand mixer), whip for 5 minutes until the mixture is thick and pale. You should be able to lift the batter up and make ribbons with it, that sit at the top of the batter for a few seconds before being absorbed back in.
- To the egg mixture, sift in the all purpose flour and add in the melted chocolate mixture from earlier. Using a spatula, gently fold until well combined and the batter is uniform.
- Distribute the batter into the ramekins. The batter should come about 3/4s of the way up the ramekins. Drop the ramekins lightly on the countertop once, and then place them onto a baking tray. Bake for 11-12 minutes, or until the edges are set, but the centre still jiggles when touched. See note 3 if you're worried about overbaking them.
- Let them cool in the ramekins for about a minute, before turning them out onto a serving plate/saucer. Use a tea towel or oven mitts to assist you as the ramekins will be hot. Let them rest for about 15 seconds, before gently lifting the ramekins up - they should come off easily.
- Finish off by dusting with powdered sugar and serve immediatlely. You can add berries, ice cream or whipped cream on the side too!
Video

Notes
Nutrition
Nutritional information are estimates only as they are automatically calculated by a third party application. Actual values may differ based on brands and types of products used.










8 Comments
Holaa MC soy MK. Graciassss por tus publicaciones te sigo desde hace un tiempo y eres genial 😁 Ayer hice esta receta de lava. Y no me salió la lava, pero servi el postre dos horas de haberlo horneado puede haber sido por eso? Y si lo hubiera calentado al microondas hubiera salido?
Hola! So glad you’re enjoying the recipes 😀
Ahh yes serving the lava cakes long after they’re made could be one of the reasons why the inside wasn’t runny. It’s best to serve the lava cakes immediately after they’re made 🙂
I would also double check that the lava cakes aren’t being overbaked – if the inside was fully cooked when you served them a few hours later, then it could also indicate that the lava cakes were slightly overbaked so you could reduce the cook time slightly as well if you feel you need too. If however they were still a bit undercooked/gooey on the inside but just not runny, then it sounds like the cook time was fine 🙂
Hope that helps for next time!
Hi Maryam, I love your recipes. A fan in the making here! 🙂 Oh, btw, I made this and it turned out great! Hubby and daughter loved it. I adjusted the temperature and cooking – 200 degrees for 10mins. I took your advice and baked one at a time to find the perfect temp and time. Again, thanks so much for the guidance.
Hi Sue! 🙂 Aww so glad you’re loving the recipes 😀
Yes with lava cakes it’s always best to check one first just in case – sounds like you got the timing just right 😀
Me encanta tu página, con todas las variantes a las que podemos acceder como porciones, idiomas, (interfas?) además te felicito por la clara y amplia explicación para elaborar los platillos. Saludos desde México.
Thank you so much for the wonderful feedback Rosy! 😀 Much love from NZ to México 🙂
Hi Maryam,
I’m a huge fan of your recipes and can’t wait to try this one! Is there a reason you didn’t use your DIY concoction this time (to grease the ramekins)?
Also, I would love to see a lemon muffin recipe of yours 😀.
Hi Arjen! So happy to hear you’re enjoying the recipes 😀 so the reason I didn’t use the DIY ‘cake goop’ for this recipe is because the recipe itself doesn’t have oil and it’s a small quantity, so for ease I just opted for the flour and butter method – meaning there’s one less ingredient to use overall and for those who don’t usually use cake goop, they don’t have to make a batch to use for small ramekins 🙂 HOWEVER you could totally use the cake goop for this recipe if you use/have it 😀
Will totally keep a lemon muffin recipe in mind for future videos 🙂