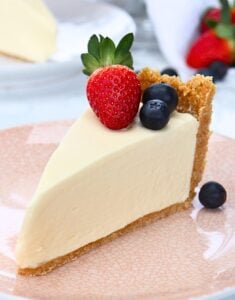
If you’re looking for a super creamy baked cheesecake recipe that is easy to make (with no water bath required), then this recipe is it! It’s rich, creamy, slightly tart and has the most irresistible biscuit base. I’d go so far as to say it’s the BEST cheesecake recipe I’ve tried!

Important tips for making the best cheesecake
No matter how easy a classic cheesecake recipe is, there are a few important tips to keep in mind to ensure you get the perfect baked cheesecake every time.
Use Room Temperature Ingredients: Ensure that your cream cheese, eggs, and other dairy ingredients are at room temperature. This helps to achieve a smooth, lump-free batter. It also helps prevent your cheesecake from cracking or sinking while baking and cooling.
Choose the Right Cream Cheese: Use high-quality cream cheese for a rich and creamy texture. Full-fat cream cheese works best for a super decadent cheesecake.
Prevent Overmixing: Mix the ingredients until just combined, and I would stick to using a low-medium speed on your electric mixer/stand mixer. Overmixing can incorporate too much air into the batter, leading to cracks on the surface of the cheesecake. Air is important when baking fluffy cakes like my vanilla cake or red velvet cake, but we don’t want too much of it in a cheesecake!
Prebake the Crust: In this recipe I have opted for prebaking the crust – I highly recommend this step! This helps maintain a crisp crust and prevents it from becoming soggy.
Avoid Overbaking: For this recipe (and most baked cheesecake recipes), you want a jiggly centre in the middle (particularly because this recipe uses sour cream which often gives you a runnier filling). To test if the cheesecake is done, touch the centre of the cheesecake gently with your finger tip, and no wet batter should stick to your finger. The cheesecake will continue to set as it cools. Overbaking can result in a dry or curdled texture, as opposed to a creamy one.
Don’t Check the Cheesecake too Early: I know it’s tempting, but don’t check the cheesecake until atleast 3/4s of the cooking time has passed, otherwise this can cause your cheesecake to sink.
Cool Gradually: Allow the cheesecake to cool gradually. Start by turning off the oven and allowing the cake to cool in the oven with the door closed (some recipes also suggest cracking the oven door slightly open), then let it cool on the counter before transferring it to the refrigerator.
Refrigerate Properly: Refrigerate the cheesecake for several hours or overnight before serving. This allows the flavors to meld and the texture to set.
Why doesn’t this cheesecake recipe use a water bath?
So the main reasons a water bath is used when baking cheesecakes is for even and gentle baking, controlled cooling when the cheesecake is done, and preventing the top from overbrowning.
With this recipe (and many cheesecake recipes), I find baking low and slow helps bypass the waterbath method altogether (so you don’t need to worry about handling a roasting pan full of boiling water). This recipes uses a low cooking temperature to ensure the cheesecake bakes slowly, and because of the low temperature, overbrowning is unlikely. Nonetheless, if you do find the top of your cheesecake beginning to brown and the centre hasn’t set yet, simply cover the top with some aluminium foil and continue baking.
When it comes to controlled cooling, this recipes does this by allowing the cheesecake to cool in the oven for 30 minutes (with the oven off), before transferring the cake to your counter to completely cool.
How to make Cheesecake
This recipe has a relatively quick prep time.
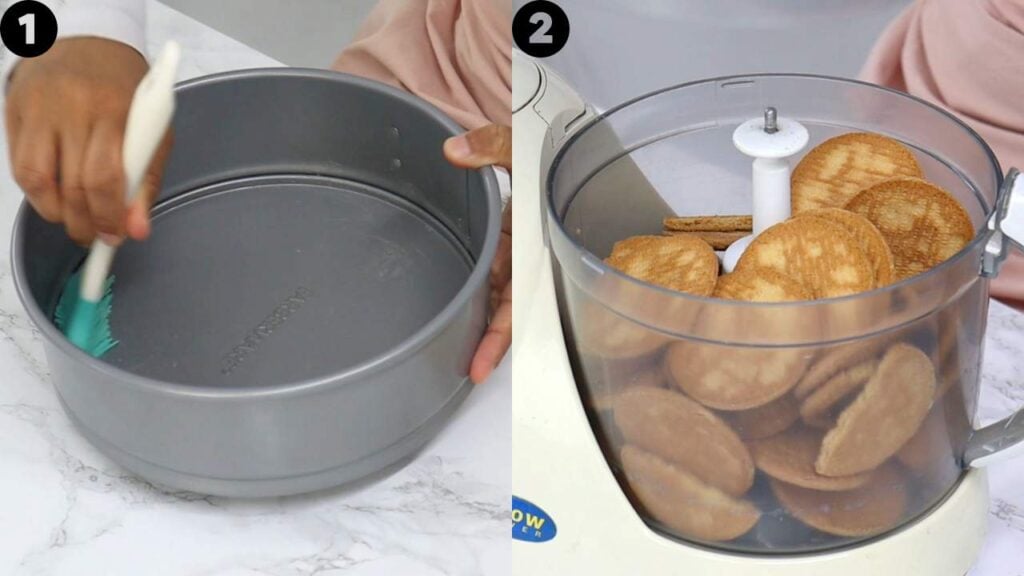
Begin by preheating your oven to 160 °C (320°F) with the fan on and lighty grease a 9 inch springform cake tin. I use my homemade cake release, but a little butter or oil will do the trick. If your oven doesn’t have a fan option, then you will need to increase the baking temperature to 175°C (350°F).
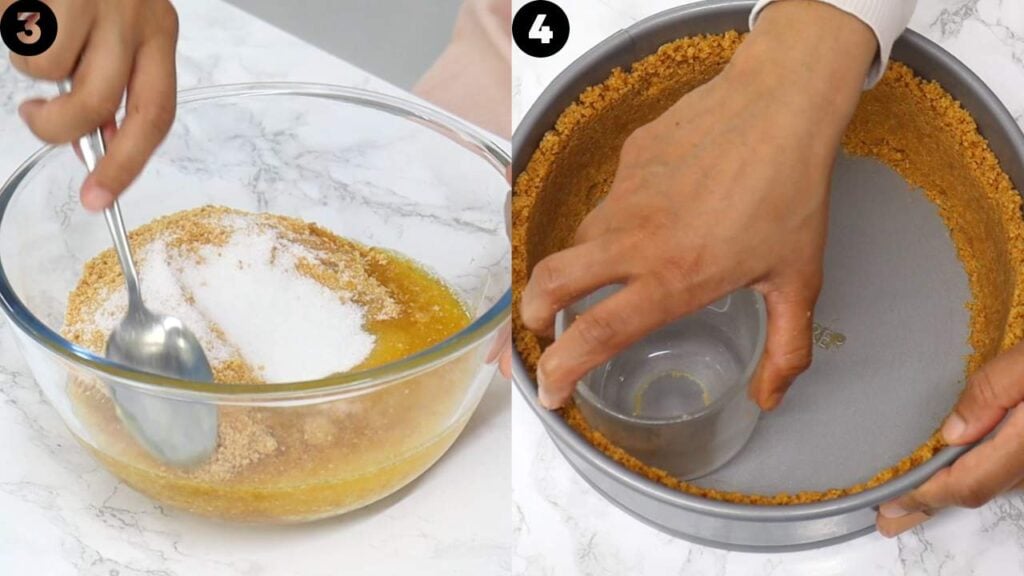
Place your chosen biscuits into a food processer (you can use graham crackers for a graham cracker crust, or any other plain sweet biscuit will work – I like to use superwine), and blend until they resemble fine crumbs. They shouldn’t be powdery though, so check them every now and then to make sure you aren’t over processing them.
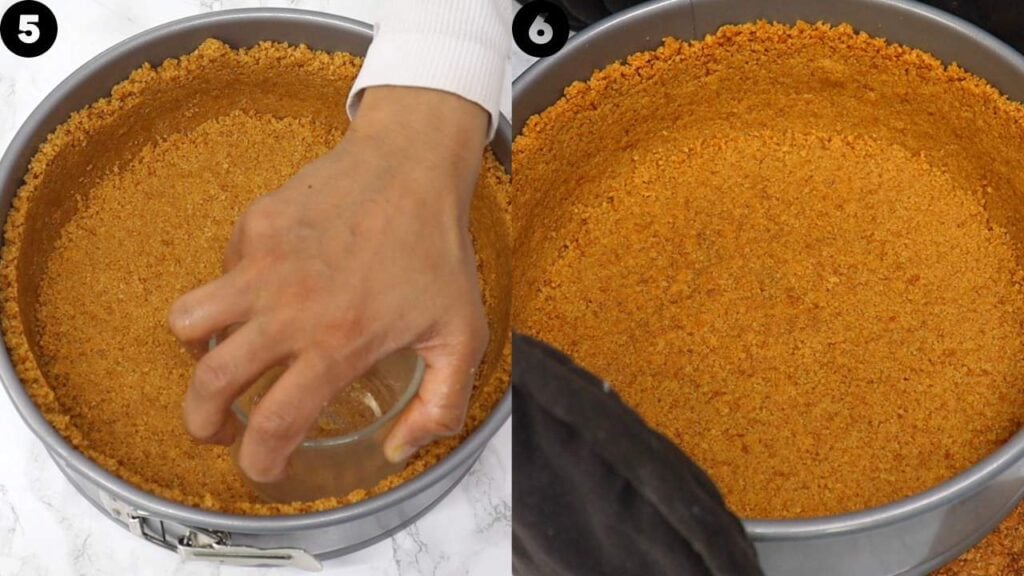
Place the biscuit crumbs into a bowl and add in melted butter and sugar. Mix with a spoon until well combined (towards the end I like to just use my hands to make sure everything is mixed well).
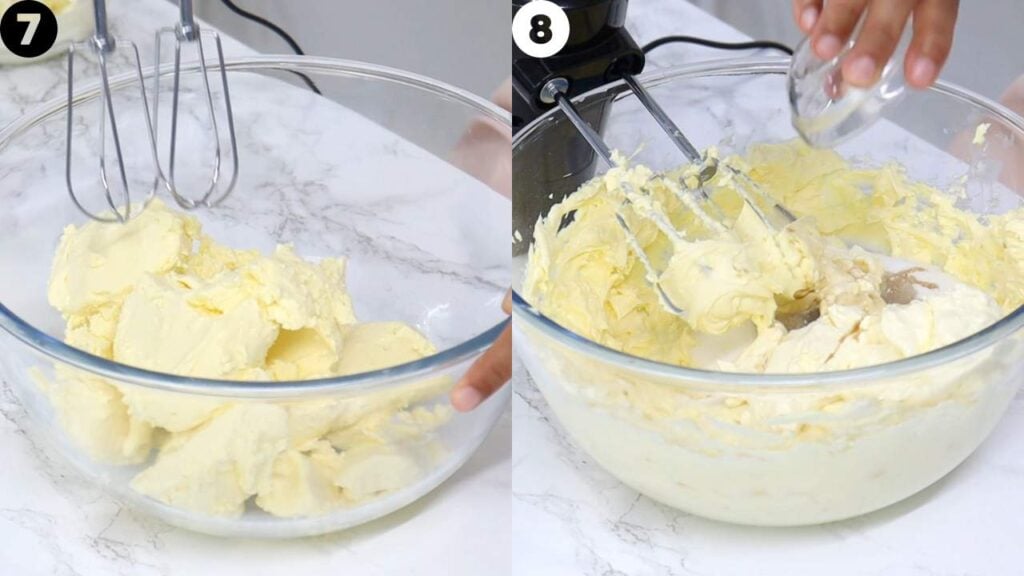
Pour the crumbs into the springform pan, and using your hands or the bottom of a cup, firmly press the crumbs up the sides of the cake pan and evenly on the bottom (see video demonstration for how I like to do this).
Bake the crust for 8 minutes. Once done set aside to cool.
Reduce the oven temperature to 140°C (285°F) with the fan on. If you don’t have a fan option (convection mode) then increase baking temperature to 160 °C (320°F)
In a large bowl add in room temperature cream cheese, and using a hand mixer or stand mixer on a low-medium speed, mix just until it’s smooth. If using a stand mixer then you want to use the paddle attachment.
Next add in all purpose flour, and mix on a low-medium speed until just combined.
Next add in sugar, sour cream, vanilla, lemon juice and salt, and again mix on low-medium speed until just combined.
Finish off by adding in room temperature eggs one at a time, mixing each egg on a low speed until it’s almost combined before adding in the next. You want to make sure you’re using large eggs.
Pour the batter into the prebaked crust (it’s okay if the crust is still slightly warm), give the cake tin a little shake to distribute the batter evenly, and then drop the cake tin lightly on the counter to remove any large air bubbles. Also place the cheesecake onto a baking tray incase there are any leaks – it’ll save you from having to clean your oven!
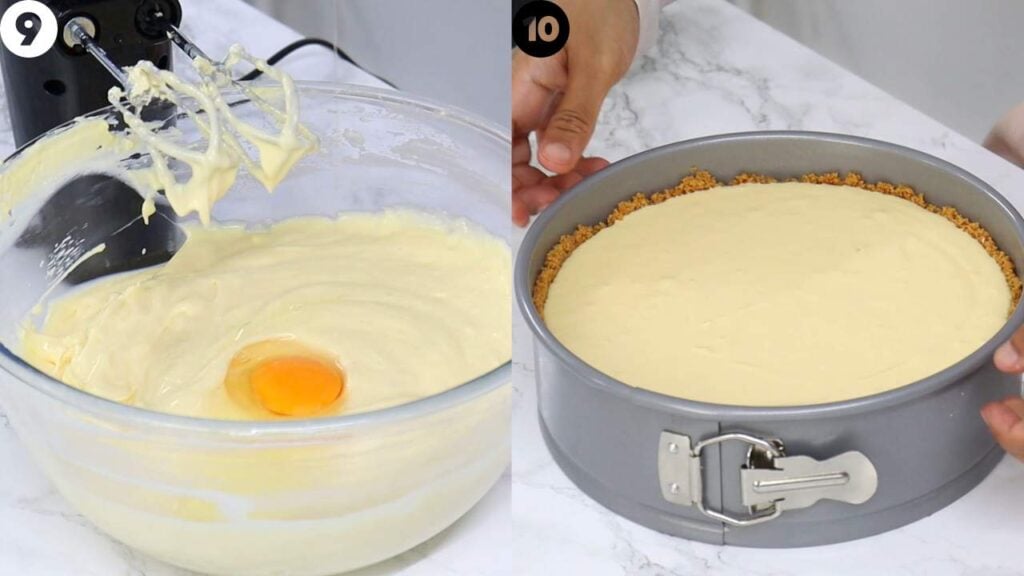
Bake for 75 minutes (use the middle rack of your oven), or until the top of the cheesecake is set. It will still be quite wobbly in the middle, so to check that it’s done, touch the centre gently with your finger tip, and no wet batter should stick to your finger. If you notice the top browning and the cheesecake isn’t ready, cover the top with aluminium foil and continue to bake until ready.
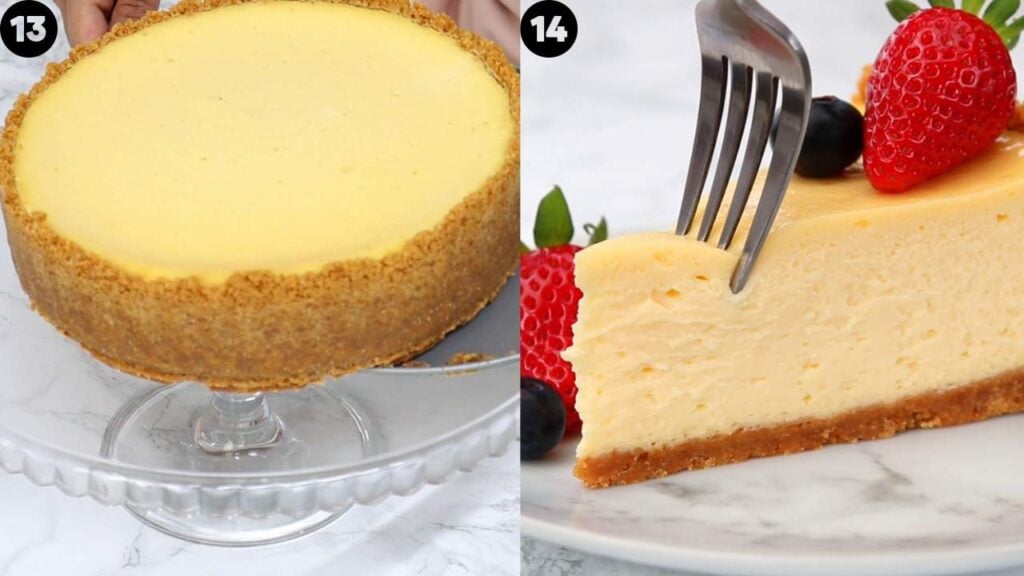
Let the cheesecake cool in the oven for 30 minutes with the oven door closed (make sure the oven is off), and then take it out and let it come to room temperature before covering the top with some cling wrap/aluminum foil and placing into the fridge to set. It needs to set for a minimum of 4 hours in the fridge, but for best results, allow it to set overnight.

Once ready, remove the sides of the springform pan and transfer the cheesecake to a serving platter/cake stand. Slice and enjoy!
Commonly Asked Questions
How do you store cheesecake?
Due to the dairy in cheesecake, it needs to be stored in the refrigerator. Cover with plastic wrap or aluminum foil to prevent drying out and absorbing odors and place in an airtight container, away from strong-smelling foods. When serving, slice while cold, and then let it soften a little (about 15 minutes) before serving.
What goes well with cheesecake?
Because this recipe is essentially a vanilla cheesecake, you can pair it with so many different things! Chocolate sauce, caramel sauce, fresh berries (strawberries are always a winner), and other fillings/toppings like my raspberry jam or lemon curd. Some people even use cherry pie filling as a topping!

Easy Cheesecake Recipe
IMPORTANT: For accuracy, I would recommend using the gram measurements provided, as those are the exact quantities I use. Cup measurements are given as estimates (based on US cup measurements) to make it easier for those who do not have a scale.
Ingredients
Cheesecake Crust
- 3 cups (360 g) plain sweet biscuits - you can use graham crackers, superwine, Arnott's marie biscuits etc. I used superwine biscuits (my preferred option)
- ¾ cup (170 g) unsalted butter - melted
- 3 tbsp (35 g) white granulated sugar
Cheesecake Filling
- 4 cups (905 g) cream cheese - 32 oz in the US. Needs to be room temperature.
- 2 tbsp (15 g) flour - plain, all purpose
- 1¼ cups (250 g) white granulated sugar
- ¾ cup (180 g) sour cream - room temperature
- 2 tsp vanilla extract/essence
- 1½ tsps fresh lemon juice - optional, but recommended
- ⅛ tsp salt
- 4 large eggs - room temperature
Instructions
Cheesecake Crust
- Preheat oven to 160 °C (320°F) with the fan on (see note 1 if you don't have a fan function) and lighty grease a 9 inch springform cake tin. I use my homemade cake release, but a little butter or oil will do the trick.
- Place the biscuits into a food processer, and blend until they resemble fine crumbs. They shouldn't be powdery though, so check them every now and then to make sure you aren't over processing them.
- Place the biscuit crumbs into a bowl and add in the melted butter and sugar. Mix with a spoon until well combined (towards the end I like to just use my hands to make sure everything is mixed well).
- Pour the crumbs into the springform pan, and using your hands or the bottom of a cup, firmly press the crumbs up the sides of the cake pan and evenly on the bottom (see note 2 for extra tips on how I like to do this).
- Bake the crust for 8 minutes. Once done set aside to cool.
Cheesecake Filling
- Reduce the oven temperature to 140°C (285°F) with the fan on (see note 3 if you don't have a fan function).
- In a large bowl add in the room temperature cream cheese, and using a hand or stand mixer on a low-medium speed, mix just until it's smooth (see note 5 about overmixing). If using a stand mixer then use the paddle attachment.
- Next add in the all purpose flour, and mix on a low-medium speed until just combined.
- Next add in the sugar, sour cream, vanilla, lemon juice and salt, and again mix on low-medium speed until just combined.
- Finish off by adding in the room temperature eggs one at a time, mixing each egg on a low speed until it's almost combined before adding in the next.
- Pour the batter into the prebaked crust (it's okay if the crust is still slightly warm), give the cake tin a little shake to distribute the batter evenly, and then drop the cake tin lightly on the counter to remove any large air bubbles. Also place the cheesecake onto a baking tray incase there are any leaks - it'll save you from having to clean your oven!
- Bake for 75 minutes (middle rack), or until the top of the cheesecake is set. It will still be quite wobbly in the middle, so to check that it's done, touch the centre gently with your finger tip, and no wet batter should stick to your finger. If you notice the top browning and the cheesecake isn't ready, cover the top with aluminium foil and continue to bake until ready.
- Let the cheesecake cool in the oven for 30 minutes with the oven door closed (make sure the oven is off), and then take it out and let it come to room temperature before covering the top with some cling wrap and placing into the fridge to set. It needs to set for a minimum of 4 hours in the fridge, but for best results, allow it to set overnight.
- Once ready, remove the sides of the springform pan and transfer the cheesecake to a serving platter/cake stand. Slice and enjoy! See note 6 for best way to cut a cheesecake.
Video

Notes
Nutrition
Nutritional information are estimates only as they are automatically calculated by a third party application. Actual values may differ based on brands and types of products used.











30 Comments
Hi Mk, I really love your cheesecake recipe. I would like to make a 6 inch and a 10 inch. What would be the measurements and the bake time for each
Hi Daniel! Thanks so much – so glad you’re loving the recipe 😀
For a 6 inch cake you would probably want to half the recipe and for a 10 inch cake make around 1.25x the recipe (I would probably make 1.5x for ease and if there is excess batter you could bake some mini cheesecakes in a muffin tin) 🙂
In terms of the bake times, I am not exactly sure but for the 6 inch you may want to check around the 50 minute mark and for the larger 10 inch around the same time as the original recipe (75mins).
Hope that helps and thanks so much for the wonderful feedback 🙂
hi !!!! i was wondering if u could replace the sour cream with full fat yoghurt or if that would change the flavor or consistency since sour cream isn’t available here?
Hi Rubaisha! 🙂
Unfortunately yoghurt may be too thin and will likely result in a cheesecake that doesn’t set up well. So sorry about that! You could experiment with using cream cheese instead, though the filling may be firmer.
Sorry I couldn’t be of more help!
I have made this twice and both times it came out delicious. Im wondering if these measurements would be the same for 12 cheesecake cupcakes?
So so happy to hear you loved the recipe Luchana! 😀
Hmm good question – I haven’t tried this recipe as cupcakes myself so I’m not too sure, but I think the crust would be enough for 12 (if it’s only on the bottoms), not sure if the cream cheese filling would be enough though! Unless the cupcakes are maybe a bit shorter? Sorry I couldn’t be of more help but would love to hear how you go if you decide to try it out 🙂
made these twice already and it yummy, could i add biscoff spread and how much could i add ?
Yay! So glad you’re enjoying the recipe 😀
I haven’t tried that myself, but I imagine you could maybe swirl some into the batter, or mix some in completely. The only thing I would be wary of is not adding too much as it may impact how the cheesecake sets. I wonder if the sweetness level may need to be adjusted too 🙂
I would say maybe 1/4 – 1/2 cup should be okay 🙂
I want to add like blueberry puree to the mixture…can I do this and it not affect the recipe?
Hi Amanda! 🙂 I haven’t tried that myself so I can’t say for sure, but I imagine it should work fine as long as the blueberry puree isn’t too liquidy. You may want to reduce it slightly over the stove top with a bit of sugar and cornstarch to thicken it up and then fold it through the mixture 🙂
Hope that helps!